How I Finally Learned to Steam Silky Milk at Home
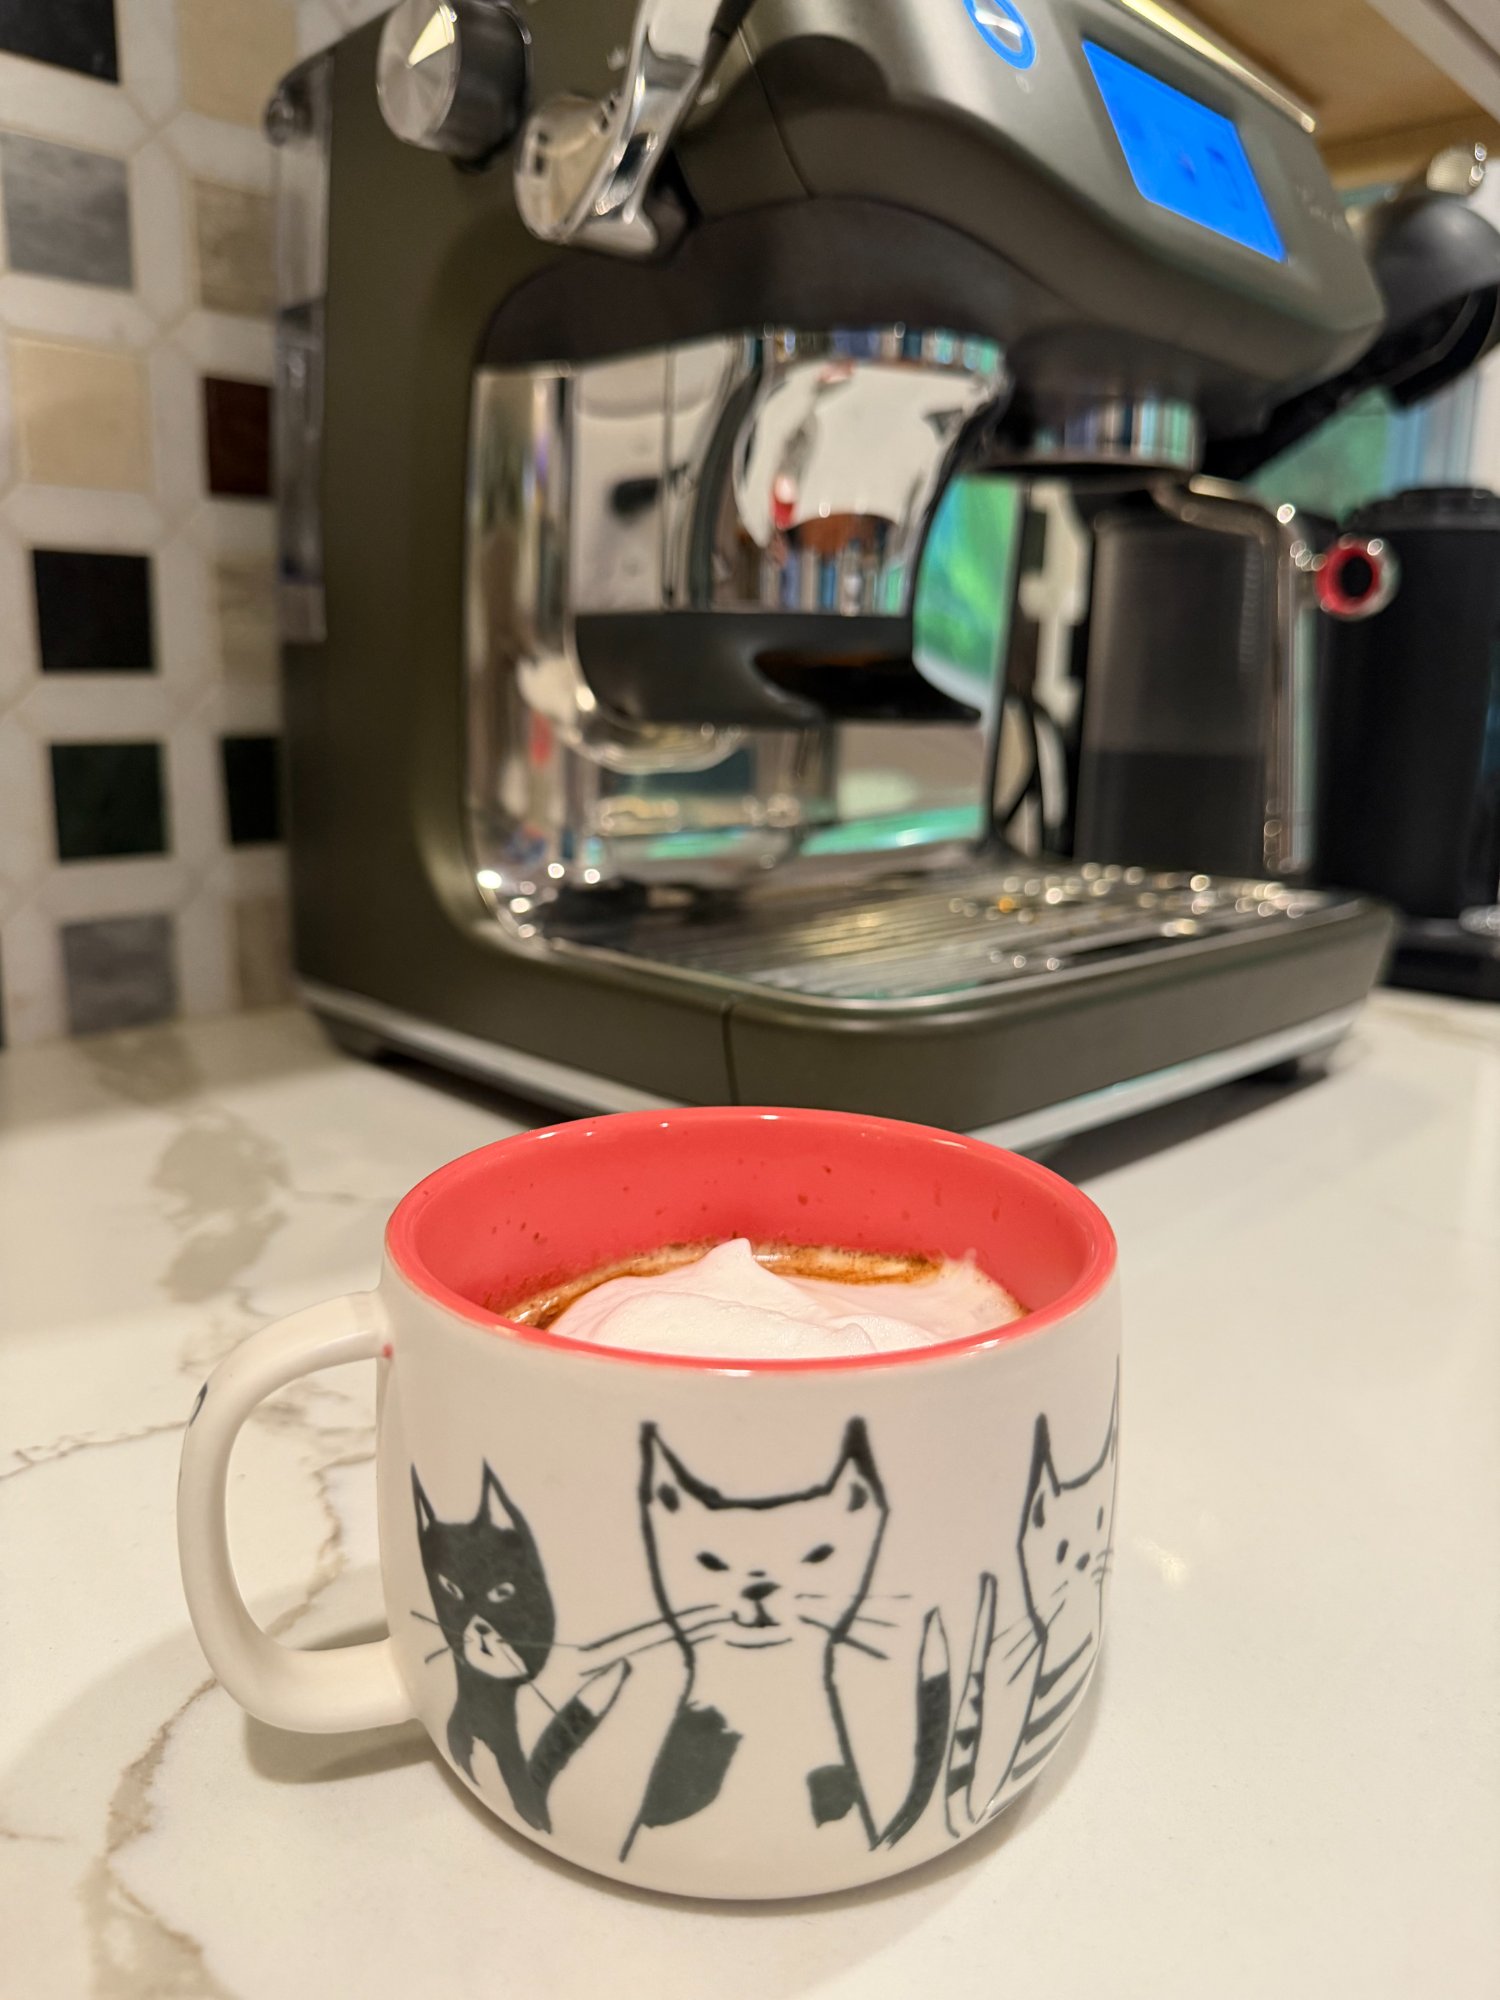
I assumed my espresso machine just wasn’t capable of making that glossy coffee shop milk. You know the kind I mean. Not huge dry foam. Not stiff bubbles sitting on top. Actual silky milk that pours smoothly and disappears into the espresso instead of becoming a separate layer.
I have the Breville Barista Touch Impress and for a long time I used the automatic steaming settings because automation is one of the reasons I bought it. And the auto steam is good.
But recently I started playing around with manual steaming because I kept seeing people talk about “microfoam” and I realized my milk looked good, but not café good. Turns out the machine wasn’t the issue. I was. The biggest surprise? Silky milk isn’t about creating more foam. It’s mostly about creating less foam than you think.
First: start colder than you think
This one helped immediately. Fill your pitcher with cold milk straight from the fridge and don’t overfill it. I usually stay around the bottom of the spout because the milk expands. Starting colder gives you more time to texture before the milk gets too hot. When I was using warmer milk or filling too high, I felt rushed and ended up with bubbles instead of texture.
The milk matters more than I expected
I use skim milk most of the time and I think it gets unfairly dismissed in coffee conversations. Skim actually steams really well if your goal is volume and defined foam. It stretches easily and can create really smooth texture once you get the technique down. The tradeoff is that it feels a little lighter and less rich than whole milk. If you want the easiest path to that super glossy coffee shop texture, whole milk is usually the most forgiving. The extra fat gives you a creamier mouthfeel and makes the milk feel a little more luxurious even if your steaming technique isn’t perfect.
Lower-fat milks like skim and 2% can still produce great microfoam, you just usually need a little more attention during the stretching phase because they can go from silky to airy pretty quickly.
For non-dairy milk, I’ve found results vary a lot. Barista oat milk tends to steam the closest to dairy and gives a really creamy texture with good stability. Almond milk can work, but I’ve found it less forgiving as it tends to separate faster and doesn’t always give that glossy finish unless you nail temperature and avoid overheating.
If you’re troubleshooting your milk texture, I’d change one variable at a time. Don’t switch milk and technique at the same time or you’ll have no idea what actually helped.
Purge the steam wand first
This takes two seconds and makes a difference. Before steaming, run the wand briefly to clear any condensation sitting inside. Otherwise you’re starting by injecting water into your milk and wondering why the texture feels off. I already do this now as part of my cleanup routine anyway...purge and wipe after every use.
The trick: only stretch the milk for a few seconds
This was my biggest mistake. I thought the paper tearing sound meant success so I kept going. No. Now I think about steaming in two phases. Phase one is introducing air. I lower the pitcher until the steam tip sits right at the surface and listen for that soft paper-tearing sound, not aggressive screeching, but I only do this for a few seconds. For a latte, less air than you think.
Then bury the tip and create the whirlpool
This is where the silky texture happens. Once the milk expands slightly, I lift the pitcher so the tip goes a little deeper and angle the pitcher until the milk starts spinning. This part took practice. You want the milk rolling in a smooth vortex rather than splashing or violently spinning. The whirlpool folds the air into the milk instead of leaving bubbles floating on top. When I finally got this right I immediately understood why my old milk felt airy instead of creamy.
Stop around 150–160°F
I know people have strong opinions here. I still like my milk warm. I usually stop around 160°F because by the time I pour it lands where I want it. If you don’t use temperature, another cue is when the pitcher becomes uncomfortable to hold for more than a second.
Tap and swirl, but not because Instagram said so
I used to think the tap and swirl thing was just coffee theater. It isn’t. One or two gentle taps helps pop larger bubbles. Then swirl until the milk looks glossy almost like wet paint. If it still looks foamy or separated, it probably needed more whirlpool and less stretching.
My current Breville routine
Right now my routine looks like this:
Cold milk → purge steam wand → stretch for a few seconds → bury tip → create whirlpool → stop around 160° → tap → swirl → pour immediately.
Manual steaming hasn’t made my coffee dramatically better, but it did make it feel more like making coffee and less like pressing a button. Once you get that first pitcher that pours glossy instead of fluffy, it’s hard to go back.
Cleaning note because future me always regrets skipping this
Purge the steam wand immediately.
Wipe it immediately.
Do not tell yourself you’ll come back in ten minutes.
Steam wand milk has zero patience.
Some links on this site are affiliate links — meaning if you buy something I recommend, I may earn a tiny commission at no extra cost to you. I only ever share things I genuinely use and love. Thanks for supporting this little corner of the internet. 💚
Get Thriving-ish on Substack
Sharing lessons I'm learning powered by sarcasm and double shots of espresso. Articles every Tuesday. Notes daily.
Subscribe